 Belt installation and removal tips for Hytrol’s NBEZ conveyor systems
December 4, 2019 REDWIRE is news you can use from leading suppliers. Powered by FRASERS.
![]()
Posted by Norpak Handling Limited
Norpak Handling provides conveying products and complete turn-key systems to suit your requirements and solve your probl... Read more
Subscribe
Free REDWIRE e-newsletter
Norpak supplies Hytrol's new NBEZ conveyor.
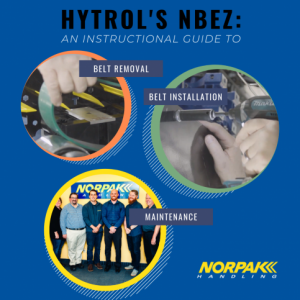
Hytrol Conveyor Company is changing the material-handling game with its NBEZ conveyor, the first all-electric narrow-belt accumulation conveyor. As an authorized Hytrol Integration Partner, Norpak Handling is proud to make the NBEZ available in Canada. This conveyor has its own procedures for belt installation and removal, which require a number of specific steps. Following them will result in optimum performance.
Start with lockout and tagout
The first step is to don appropriate safety gear and conduct lockout and tagout on the equipment. The procedure to remove a belt goes as follows. First, unscrew the spring adjustment nut on the end of the centre drive, with the spring take-up indicator. Then unsecure the centre guard’s bottom drive by removing the 3/8-inch components on the panel front and bottom. Remove the four 3/8-inch nuts securing the plate to the drive channel, the take-up pulley, the belt around the take-up pulley, and the tail pulleys. Steer the belt over the guide bearings located along the conveyor to remove the belt from the upper guides. The belt can now be removed fully.
Norpak Handling recommends these steps for belt installation:
- Remove the rollers in the drive section.
- Insert the belt and guide to down to the centre drive, starting from the top of the conveyor.
- Wrap the belt around the removed take-up pulley and reinsert it into its bracket and track.
- Reinsert the snub-idler after ensuring the belt is wrapped around it.
- Re-secure the snub-idler access plate with the 3/8-inch components.
- Guide the belt towards the conveyor’s infeed by going over the snub roller and wrapping it around the tail pulley.
- Position the belt between the higher and lower belt guides and towards the discharge tail pulley.
- Refasten the centre drive’s bottom guard with the 3/8-inch components.
- Tension the belt, using the spring take-up indicator as a guide, and tighten the adjustment nut until a black indicator is seen.
- When the belt is tight, put the rollers back.
- Following belt installation, start the conveyor to ensure belt tracking.
To learn more, contact Norpak.
Share
![]()
Posted by Norpak Handling Limited
Norpak Handling provides conveying products and complete turn-key systems to suit your requirements and solve your probl... Read more